Hello everyone! In this post, I’ll show you how to use the Bootstrap framework in Salesforce Lightning Web Components (LWC) and discuss whether or not you should use it.
The first step in using Bootstrap in an LWC is to host the Bootstrap CSS and JS files in Salesforce as Static Resources.
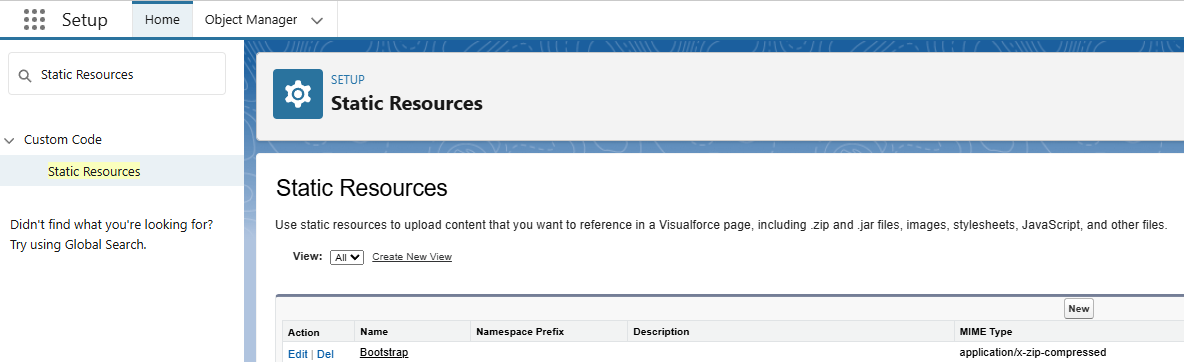
1. Uploading Bootstrap as a Static Resource
- Download Bootstrap Files: First, go to the official Bootstrap website and download both the stylesheet (CSS) and the script (JavaScript) files. If you already have those files saved individually, simply bundle them into a single ZIP archive—name it something like bootstrap.zip—making sure it contains bootstrap.min.css and bootstrap.min.js. You can then upload that ZIP file directly into Salesforce.
- Create a Static Resource in Salesforce:
- Open Setup by clicking the gear icon ⚙️ in the top right.
- In the left-hand search box, type Static Resources and select that option.
- Hit New to add a brand-new resource.
You have the Bootstrap library hosted in your Salesforce org as a static resource. The next step is to load these files in your LWC so that the component can use Bootstrap’s styles and scripts.
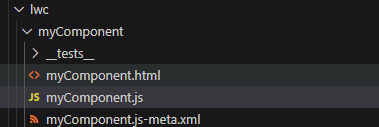
2. Loading Bootstrap in an LWC Component
Lightning Web Components provides a module called lightning/platformResourceLoader, which we can use to load CSS or JavaScript from static resources. This module offers two methods: loadStyle for CSS files and loadScript for JS files. These functions return Promises, meaning they load the resources asynchronously.
<!-- myComponent.html -->
<template>
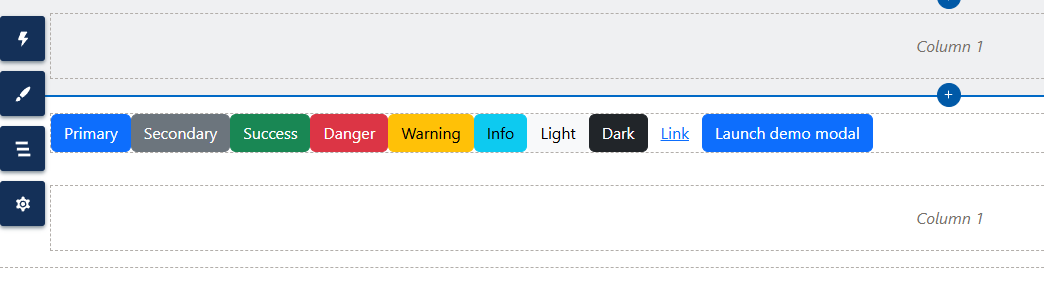
<button type="button" class="btn btn-primary">Primary</button>
<button type="button" class="btn btn-secondary">Secondary</button>
<button type="button" class="btn btn-success">Success</button>
<button type="button" class="btn btn-danger">Danger</button>
<button type="button" class="btn btn-warning">Warning</button>
<button type="button" class="btn btn-info">Info</button>
<button type="button" class="btn btn-light">Light</button>
<button type="button" class="btn btn-dark">Dark</button>
<button type="button" class="btn btn-link">Link</button>
<!-- Button trigger modal -->
<button type="button" class="btn btn-primary" data-bs-toggle="modal" data-bs-target="#exampleModal">
Launch demo modal
</button>
<!-- Modal -->
<div class="modal fade" id="exampleModal" tabindex="-1" aria-labelledby="exampleModalLabel" aria-hidden="true">
<div class="modal-dialog">
<div class="modal-content">
<div class="modal-header">
<h1 class="modal-title fs-5" id="exampleModalLabel">Modal title</h1>
<button type="button" class="btn-close" data-bs-dismiss="modal" aria-label="Close"></button>
</div>
<div class="modal-body">
...
</div>
<div class="modal-footer">
<button type="button" class="btn btn-secondary" data-bs-dismiss="modal">Close</button>
<button type="button" class="btn btn-primary">Save changes</button>
</div>
</div>
</div>
</div>
</template>
					// myComponent.js
import { LightningElement } from 'lwc';
import { loadStyle, loadScript } from 'lightning/platformResourceLoader';
import BOOTSTRAP from '@salesforce/resourceUrl/Bootstrap';

export default class MyComponent extends LightningElement {
  connectedCallback() {
    // paths inside your ZIP: /bootstrap.min.css and /bootstrap.bundle.min.js
    const cssPath = BOOTSTRAP + '/bootstrap.min.css';
    const jsPath  = BOOTSTRAP + '/bootstrap.bundle.min.js';

    // Kick off both loads in parallel
    Promise.all([
      loadStyle(this, cssPath)
        .then(() => {
          console.log(' Bootstrap CSS loaded successfully');
        })
        .catch(error => {
          console.error(' Error loading Bootstrap CSS', error);
        }),

      loadScript(this, jsPath)
        .then(() => {
          console.log('Bootstrap JS loaded successfully');
        })
        .catch(error => {
          console.error(' Error loading Bootstrap JS', error);
        })
    ])
    .then(() => {
      console.log('All Bootstrap assets loaded');
    });
  }
}
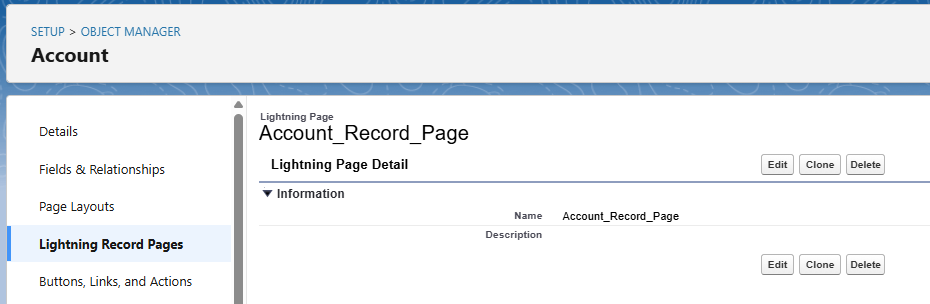
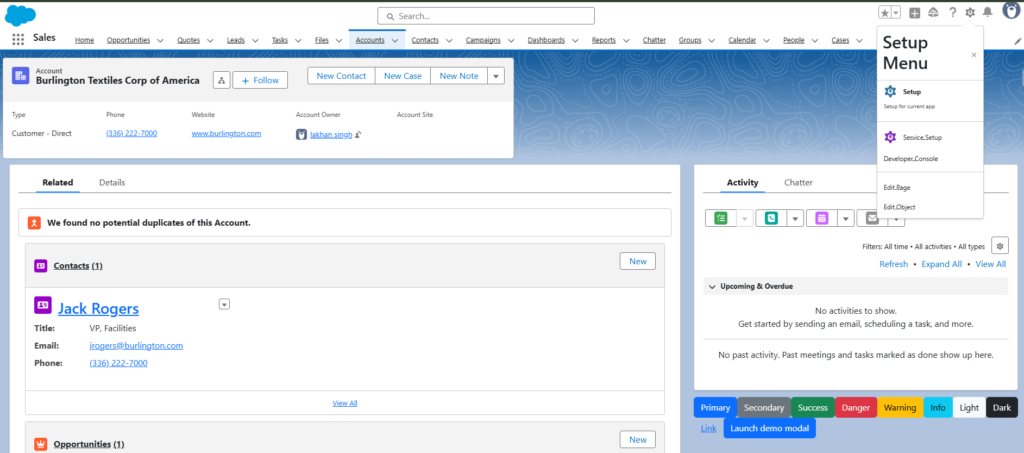
3. LWC on a Lightning Record Page
Now that our LWC is set up to use Bootstrap, we can add it to a Salesforce page to see it in action. I added the component to an Account record page in Lightning Experience.
You can add it to any Lightning record or app page using the Lightning App Builder
In Salesforce, go to Object Manager > Account (or the object of your choice) > Lightning Record Pages.> Click Edit >Drag and drop the component onto the page layout >Click Save, then Activate the page if it’s a new page
When using Bootstrap on an internal app page like this, be aware that it may alter the appearance of standard Salesforce components.
4. Using the LWC with Bootstrap in an Experience Cloud Site
One scenario where using Bootstrap in LWC might make more sense is on a Salesforce Experience Cloud site (previously known as a Community site).
Experience Cloud allows you to build custom web pages (often for external users or customers), and you have more freedom to design a unique look and feel. I decided to try adding the same LWC to an Experience Builder site to see the difference:
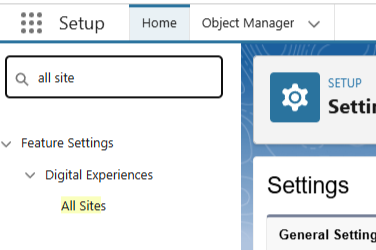
In Salesforce Setup, navigate to “All Sites” (under “Digital Experiences”). Create a new site or open an existing Experience Cloud site in the Experience Builder.
In Experience Builder, go to the page where you want to add the LWC (or create a new page).
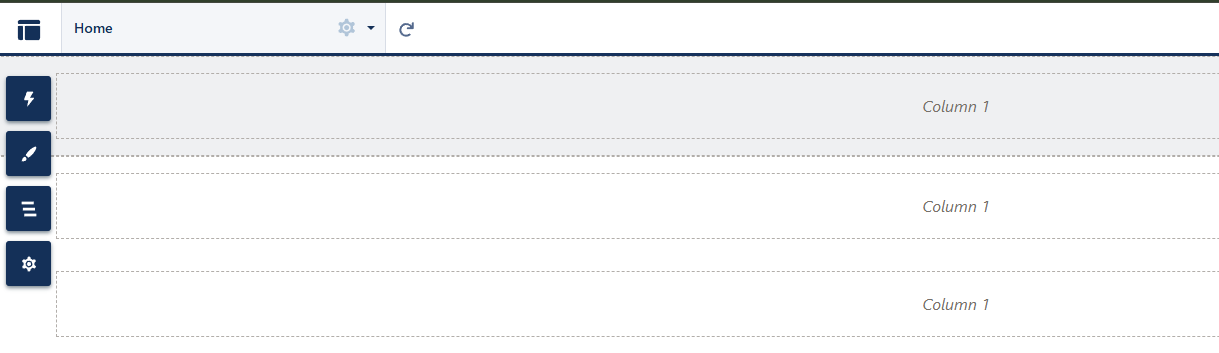
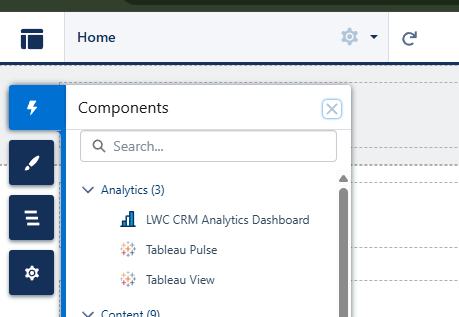
Click on the Components panel, and find your LWC under Custom Components.
Drag and drop the LWC onto the page layout wherever you like.
Save and publish the site changes.
Now, viewing the site page, the LWC with Bootstrap is rendered and styled as expected.
Conclusion
Should You Use Bootstrap in LWC?
Use Bootstrap in Salesforce LWC only for quick experiments or fully custom pages (like an isolated Experience Cloud site)—it’s a great sandbox exercise for mastering loadStyle/loadScript. Still, its global CSS will clash with standard Lightning pages.
For any production app or UI mixed with Salesforce components, stick with the Salesforce Lightning Design System (SLDS) to ensure consistent styling, future compatibility, and official support. By knowing both, you’ll be a more versatile Salesforce developer. Happy coding!