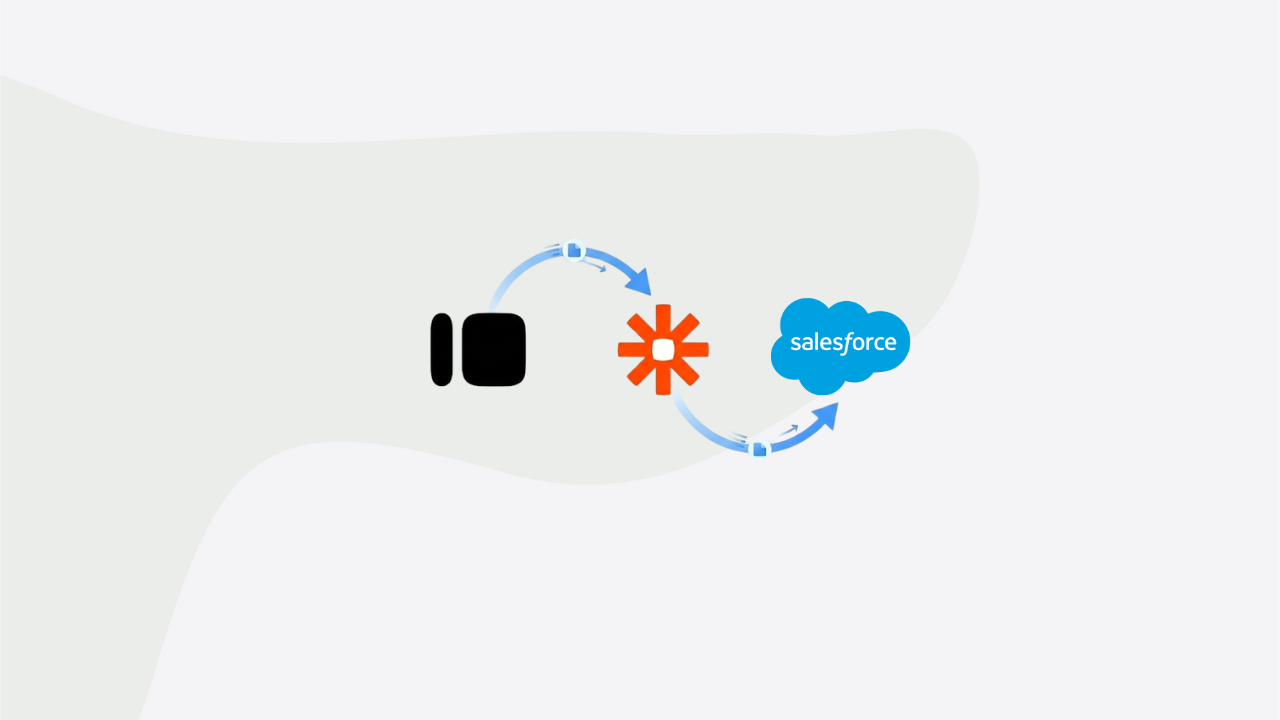
This guide explains how to integrate Typeform with Salesforce using Zapier to automatically create Salesforce records whenever a Typeform is submitted.
The integration uses only free plans, requires no coding, and works the same way for Salesforce Production, Developer, or Sandbox environments.
Tools Required
The following tools are used in this integration:
- Typeform – to collect form responses
- Zapier – to automate data transfer
- Salesforce Org – to store records in Salesforce (we are using Free Suite)
Why Use Salesforce Free Suite?
Salesforce Free Suite is recommended because:
- Zapier requires paid plans for Developer and Sandbox orgs
- Free Suite behaves like a production Salesforce org
- It does not expire, unlike trial orgs
- The configuration steps are identical to other Salesforce environments
Salesforce Free Suite Signup:
https://www.salesforce.com/in/crm/free-crm/
Step 1: Sign Up for All Required Platforms

1.1 Typeform Signup :
https://admin.typeform.com/signup
1.2 Zapier Signup
Zapier’s free plan or trial is sufficient for this integration.
1.3 Salesforce Free Suite Signup
Step 2: Create a Form in Typeform
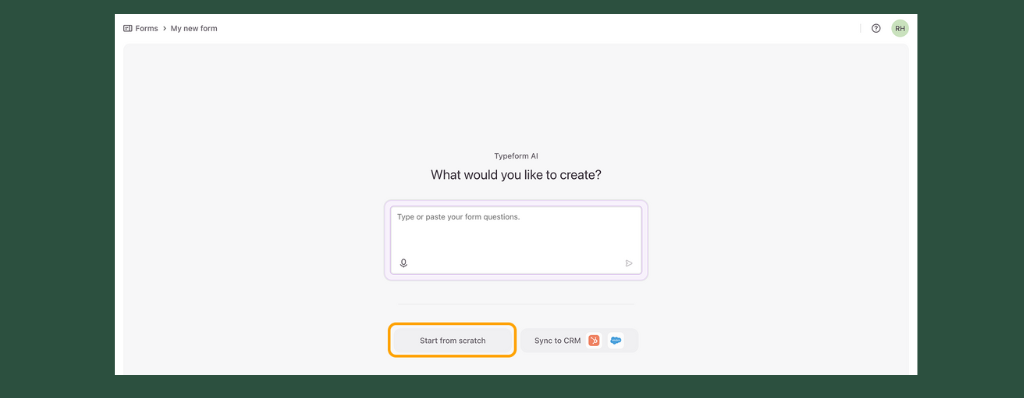
- Log in to Typeform
- Click Create a new form
- Use the drag-and-drop form builder
- Add fields such as:
- Subject
- Description
- Publish the form
- Share the form URL with users or customers
Step 3: Create & Configure Automation in Zapier

Zapier acts as the integration layer between Typeform and Salesforce.
Step 3.1: Create a Zap
- Log in to Zapier
- Click Create
- Select Zaps (Automated workflows)
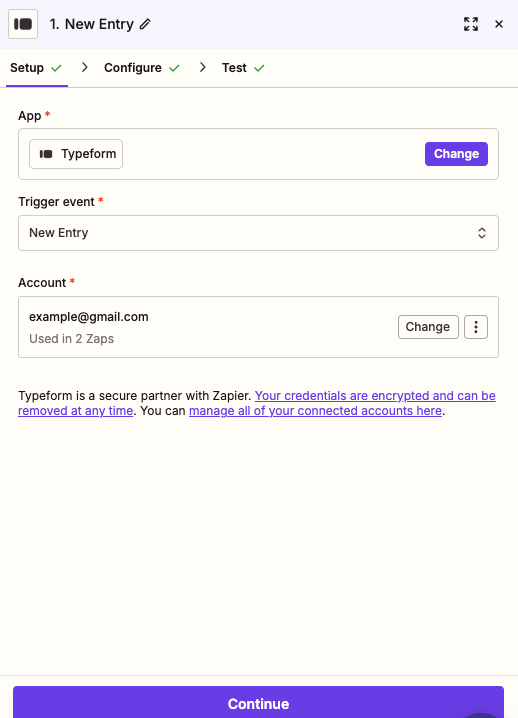
Step 3.2: Configure the Trigger (Typeform)
This step defines when the automation should run.
- Select Typeform as the trigger app
- Choose trigger event New Entry
- Connect your Typeform account
- Click Continue
- Select the form created earlier
- Click Continue
Step 3.3: Test the Trigger
- Zapier retrieves recent form submissions
- Select a test record
- Click Continue
This confirms Zapier can successfully read Typeform data.
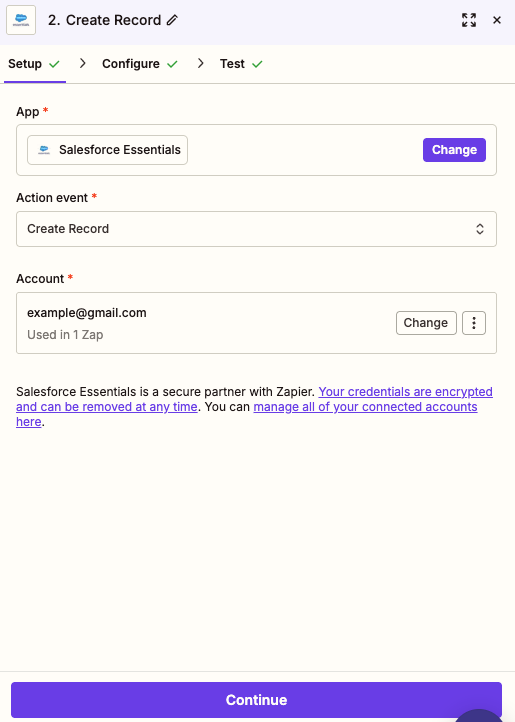
Step 3.4: Configure the Action (Salesforce)
This step defines what happens after a form submission.
- Select Salesforce Essentials as the action app
(Salesforce can also be selected if available in your plan) - Choose action event Create Record
- Connect your Salesforce Free Suite account
- Grant required permissions
Step 3.5: Map Fields and Publish the Zap
- Select the Salesforce object:
- Case, Lead, or Contact
- Map fields:
- Subject → Subject
- Description → Description
- Email → Email
- Test the action
- Click Publish
Step 4: Test the End-to-End Integration

- Submit a new response via Typeform
- Zapier triggers automatically
- A new record is created in Salesforce
Verify the record inside Salesforce.
Additional Salesforce Actions Supported by Zapier
Zapier supports multiple Salesforce actions, including:
- Create or update Leads, Contacts, and Cases
- Update existing records
- Send email or Slack notifications
- Sync data with other applications
Conclusion
By integrating Typeform, Zapier, and Salesforce, organizations can implement a reliable, no-code automation that transfers form data directly into Salesforce in real time. This approach reduces operational effort, minimizes errors, and ensures consistent data capture using only free tools.
The same configuration can be reused across Salesforce environments, making it suitable for learning, demos, and production use.